Plastering is more than just slapping some mud on your walls. It’s a craft that requires precise tools and techniques that have been refined over centuries. At its core, plastering is the process of creating a smooth, even, and hard surface on a wall or ceiling. So, why is plastering important? Well, for starters, it increases the longevity of your walls and creates a stable surface for paint or wallpaper. It also adds a layer of insulation to your walls – making your home more energy-efficient. But perhaps most importantly, it gives your home a professional and polished look.
The history of plastering dates back to ancient times – from early civilizations in Egypt and Greece to the elaborate plasterwork of the Renaissance. Today, plastering remains an essential skill for professional builders and DIYers alike. Now that we’ve covered the basics, let’s dive into the details of mastering the art of plastering.
Introduction to Plastering
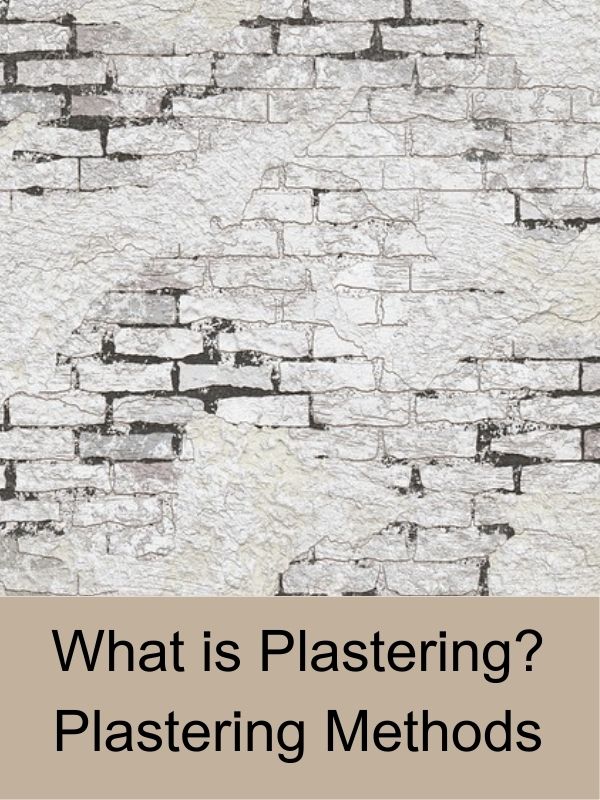
Plastering is a construction technique that has been practiced for centuries. It serves both functional and decorative purposes, providing a smooth and visually appealing finish to walls and ceilings. The plaster acts as a protective layer, shielding the underlying structure from moisture, heat, and other external factors.
Understanding Plastering Materials
Plastering materials consist primarily of cement, sand, and water. Cement acts as a binder, holding the mixture together, while sand provides strength and texture. Water is added to achieve the desired consistency for easy application. Various additives can be incorporated into the mixture to improve its workability and performance.
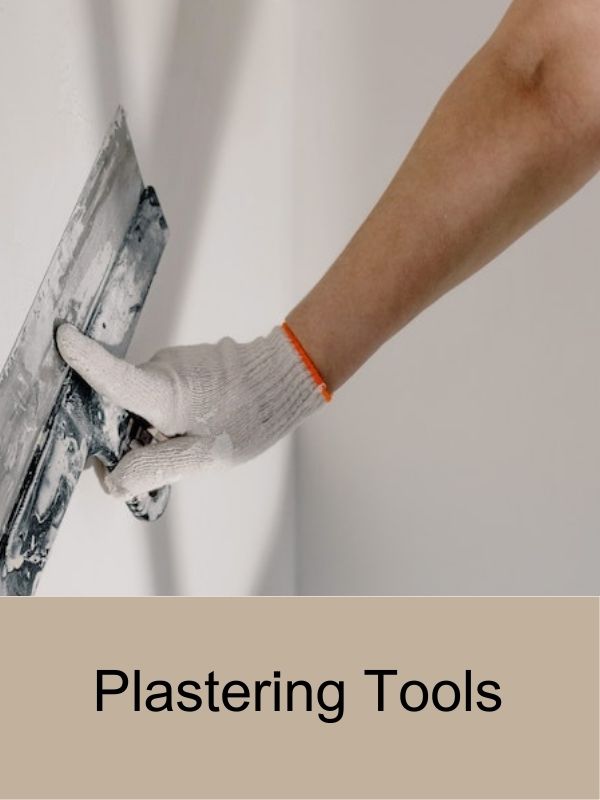
Let’s talk about the tools and materials you’ll need to start plastering like a pro. First and foremost, you can’t plaster without a trusty trowel. Think of it like a chef’s knife; you wouldn’t expect to cook a gourmet meal with a butter knife, would you? A hawk is also essential for holding and carrying the plaster mix.
When it comes to the plaster mix, you have a few options, but the most common are gypsum, cement, and lime-based mixes. Just add water, and you’re good to go. Speaking of water, it’s crucial to have clean water on hand to mix with the plaster and keep your tools cleaning in between coats. After you’ve applied the plaster, you’ll need sandpaper to give the surface a smooth finish. Don’t skimp on this; trust us, it’ll make all the difference in the end result.
Preparation
Preparing the surface is crucial to achieving a smooth and even plaster finish. Clean the surface to remove any debris that may interfere with the plaster’s bond. If the surface is painted, scrape off loose paint and sand down the edges. The surface should also be dampened to help the plaster adhere better.
After preparing the surface, applying a bonding agent is necessary. A bonding agent creates a surface for the plaster to adhere to, ensuring that the plaster doesn’t fall off the wall. It also strengthens the plaster after it dries, making it more durable. Follow the manufacturer’s instructions for applying the bonding agent. Typically, it involves applying a coat to the surface and allowing it to partially dry before applying the plaster. Remember, proper surface preparation and bonding agent application are essential to ensuring a successful plastering job.
Applying the plaster
Applying the plaster: Ok, it’s time to get your hands dirty, or rather, covered in plaster. The first step in applying the plaster is to mix it to the right consistency. You want it to be smooth and lump-free, but not too runny or too thick like the oatmeal your grandma used to make. It’s a deli
cate balance, and it might take some practice to get it right. Once you have the plaster mixed to perfection, it’s time to apply the first coat. Use a trowel to scoop up some plaster and spread it over the area you want to cover. Make sure you apply the plaster evenly, so you don’t end up with lumpy walls that look like they have a bad case of cellulite. After the first coat has dried, it’s time for the second coat.
This coat is where you can really show off your plastering skills. Use the trowel to smooth the plaster over the walls, creating a smooth and even surface. You might want to do a happy dance once you see how good it looks. Finally, for the icing on the cake, it’s time for smoothing and finishing. This is where you use the sandpaper to smooth out any rough spots or bumps on the wall. Take your time and be gentle, or you might end up creating new bumps instead of smoothing them out. Congratulations, you just transformed your boring old walls into gleaming works of art.
Okay, maybe not quite works of art, but still impressive nonetheless. Now sit back, relax, and admire your handiwork. Remember, if at first, you don’t succeed, plaster, plaster again. With practice, you’ll soon become a plastering pro, and maybe even start your own plastering business. The sky’s the limit!
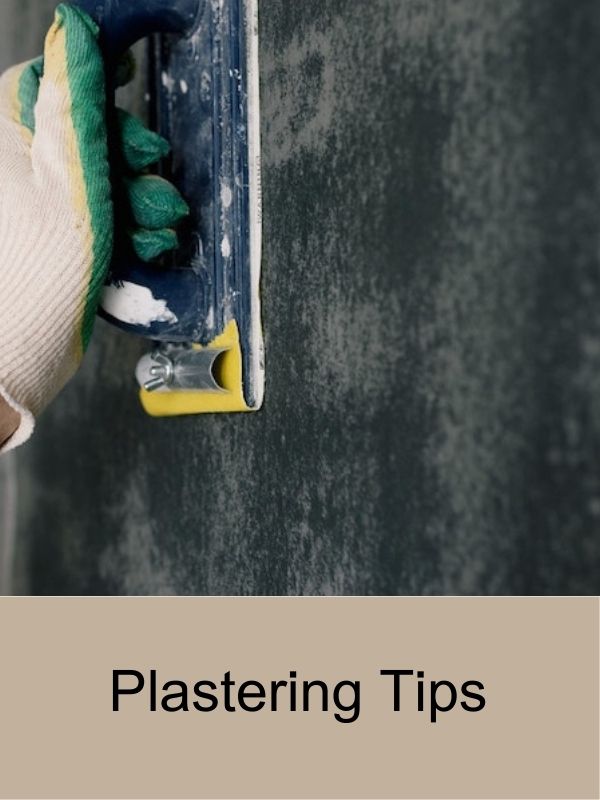
Common mistakes to avoid
Let’s be real, plastering is an art form that takes practice to master. But even the best of the best make mistakes. Here are the most common mistakes to avoid: Firstly, don’t overwork the plaster. Once you’ve applied it, leave it be. It’ll dry just fine without your constant poking and prodding. Secondly, don’t apply too much pressure. You’re not trying to impress anyone with your Hulk-like strength. Smooth and steady wins the plastering race. Lastly, let the plaster dry. Don’t rush the process. Not allowing enough drying time can lead to cracking and a whole lot of frustration. So sit back, relax, and let the plaster do its thing.
Fixing wall defects
Fixing Wall Defects: Got a hole in your wall? Need to fill a crack? Don’t fret, fixing these issues is easier than you may think. With a little plaster and some elbow grease, you can have your wall looking as good as new. Patching holes is a simple process. First, clean the area around the hole and remove any loose debris. Next, apply a small amount of plaster to the back of the hole using a putty knife.
Once the plaster is set, fill the hole with more plaster and use the knife to smooth it out. Let it dry, sand it down, and voila! Goodbye, unsightly hole. Filling cracks is a similar process. Clean the area around the crack and widen it slightly with a knife. Apply plaster into the crack, smooth it out, and let it dry. Sand it down and you’re done! If you need to repair damage to the wall, such as a larger hole or a gouge, the process is a bit more involved.
You may need to use a mesh patch to reinforce the repair. But don’t worry, with a little practice and some patience, you’ll become a plastering pro in no time. So, next time you notice a defect in your wall, don’t rush to call a professional. Grab some plaster and give it a shot yourself. You’ll save money and have a sense of pride knowing you fixed it yourself! Plus, you may learn a new skill along the way.
Traditional Plastering Methods
Wet Plastering
Wet plastering, also known as solid plastering or “scratch coat,” is a traditional method that involves applying multiple layers of wet plaster directly onto the surface. The initial layer, known as the scratch coat, provides a base for subsequent layers. Skilled plasterers use specialized tools to create a smooth and even surface.
Dry Lining
Dry lining, also referred to as plasterboard or gypsum board, is a popular modern method of plastering. It involves fixing pre-fabricated plasterboard panels to the surface using adhesive or screws. This method is faster and less labor-intensive compared to wet plastering. Dry lining is commonly used for interior walls and ceilings.
Modern Plastering Techniques
Spray Plastering
Spray plastering, also known as machine-applied plastering, is a time-saving technique that involves using a machine to spray a thin layer of plaster onto the surface. This method is highly efficient for covering large areas quickly and achieving a consistent finish. Spray plastering is commonly used in commercial and industrial projects.
Venetian Plastering
Venetian plastering, originating from Italy, is a decorative plastering technique that creates a polished and marble-like finish. It involves applying multiple layers of a special plaster mixture, typically made of marble dust and lime, using a trowel. Venetian plastering adds a luxurious and elegant touch to interiors.
Tips for Successful Plastering
To achieve excellent plastering results, consider the following tips:
Surface Preparation
Ensure that the surface to be plastered is clean, dry, and free from debris. Remove loose paint, wallpaper, or any other contaminants. Repair cracks or holes before applying plaster.
Mixing the Plaster
Follow the manufacturer’s instructions to mix the plaster accurately. Use clean water and add the plaster gradually, stirring continuously until you achieve a smooth and lump-free consistency.
Applying the Plaster
Apply the plaster in even layers, using a trowel or hawk and float. Work methodically and avoid applying excessive pressure, which can lead to unevenness or damage to the underlying surface.
Finishing Touches
Smooth the plaster surface using a trowel, sponge, or brush, depending on the desired texture. Allow each layer to dry before applying subsequent coats. Sand the plaster lightly between coats for a seamless finish.
Common Plastering Problems and Solutions
Cracking
Cracks in plaster can occur due to various factors such as structural movement, drying too quickly, or inadequate surface preparation. To address this issue, use flexible fillers or jointing compounds to fill and repair the cracks. Ensure proper surface preparation and allow sufficient drying time between coats.
Blistering
Blistering, or the formation of bubbles on the plaster surface, can result from moisture trapped within the layers or inadequate bonding. To fix this, scrape off the blistered plaster, address the underlying cause, and reapply the plaster, ensuring proper drying and curing.
Uneven Surface
Unevenness in plaster can be caused by improper application, uneven drying, or insufficient plaster thickness. To rectify this, sand the uneven areas, apply a leveling compound if necessary, and reapply the plaster, ensuring an even layer thickness.
Importance of Plastering Machine
Plastering machines and plastering pumps have revolutionized the plastering industry by offering numerous advantages over traditional manual methods. Here are some key reasons why plastering machines are important:
- Efficiency and Time Savings: Plastering machines automate the process, allowing for faster and more efficient application of plaster. The machine pumps and sprays the plaster onto the surface, covering large areas in a fraction of the time it takes with manual methods. This significantly reduces labor time and speeds up project completion.
- Consistent Application: Plastering machines ensure a consistent and uniform application of plaster. The machine is calibrated to deliver a predetermined thickness and texture, resulting in a smooth and even finish across the entire surface. This eliminates the inconsistencies and variations that may occur with manual plastering techniques.
- Reduced Labor and Physical Strain: Traditional plastering methods require extensive manual labor, including mixing the plaster, carrying and applying it to the surface, and smoothing it out. Plastering machines alleviate much of this physical strain by automating the plastering process. Workers can focus on operating the machine rather than performing strenuous manual labor, reducing the risk of injuries and fatigue.
- Increased Productivity: Plastering machines enable higher productivity on construction sites. With the ability to cover larger areas in less time, more work can be accomplished within a given timeframe. This is particularly beneficial for commercial projects or situations where tight deadlines need to be met.
FAQ
Can I plaster over existing paint?
Plastering over paint is not recommended, as the plaster may not adhere properly. It is best to remove the paint and prepare the surface before plastering.
How long does plastering take to dry?
The drying time depends on various factors such as temperature, humidity, and plaster thickness. Generally, plaster takes around 1-2 days to dry per millimeter of thickness.
Can I plaster directly onto brick or concrete walls?
It is possible to plaster directly onto brick or concrete walls.