We often overlook the importance of plastering. It’s not just about cosmetic beauty, but also durability. A good plaster job can last for decades, while a subpar one can lead to cracks and structural issues. That being said, achieving perfect walls is no easy feat. Common mistakes during plastering such as overworking the plaster, using too much water, and not preparing the wall properly can lead to disastrous results. But fear not, dear reader! With the right materials, techniques, and a bit of patience, you can achieve flawless walls in no time. Keep reading to learn the expert plastering tips that will elevate your DIY game.
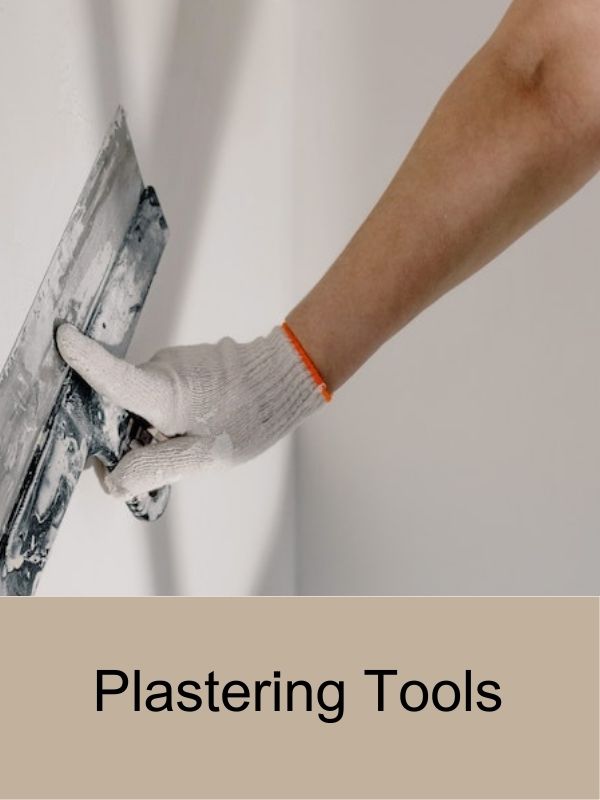
Choosing the Right Materials
Choosing the Right Materials: Choosing the right materials is crucial for achieving perfectly plastered walls. Firstly, select the type of plaster that suits the wall surface, such as bonding plaster for smooth surfaces and the stronger multi-finish plaster for uneven surfaces.
Next, make sure you have the right tools such as a hawk and trowel to help with the application process. Using a mixing bucket and a drill mixer to mix the plaster ensures a smooth and even consistency. For additional materials, corner tapes and beading provide sharp and crisp edges. Also, be sure to keep a damp cloth or sponge on hand for cleaning up after each step. By selecting the right materials, your plastering project can run smoothly and achieve the best results.
Preparing the Wall
Preparing the Wall: Before plastering, preparing the wall is the most important step. Inadequate preparation can be the cause of a lot of problems later on. Firstly, clean the wall thoroughly as any loose debris can affect the plaster. A wire brush can help with removing dust and debris. Second, repair any cracks or damage to the wall before applying the plaster. A filler can provide smoothness to the wall. Lastly, apply a coat of primer to the wall to ensure a strong bond with the plaster. Neglecting the preparation stage can lead to inconsistencies in the plaster itself. So, take some time to clean, repair, and prime the wall. It may seem tedious, but it will ensure the best possible results. Remember, a good finish is made in the preparation stage itself!
Plastering Techniques
Plastering Techniques Now that you’ve cleaned and prepared your walls, it’s time to start plastering. Get ready to mix, apply and smooth your way to perfection! Mixing the plaster: First things first, always remember to follow the manufacturer’s instructions when it comes to mixing plaster. Too much water will weaken the plaster, while too little water will make it difficult to spread. Mix until you have a thick and creamy consistency, free of lumps. Applying the plaster: Start by applying a small amount of plaster to the trowel, building up in layers as you go. Try not to skimp on the plaster, as this can leave bumps and uneven spots.
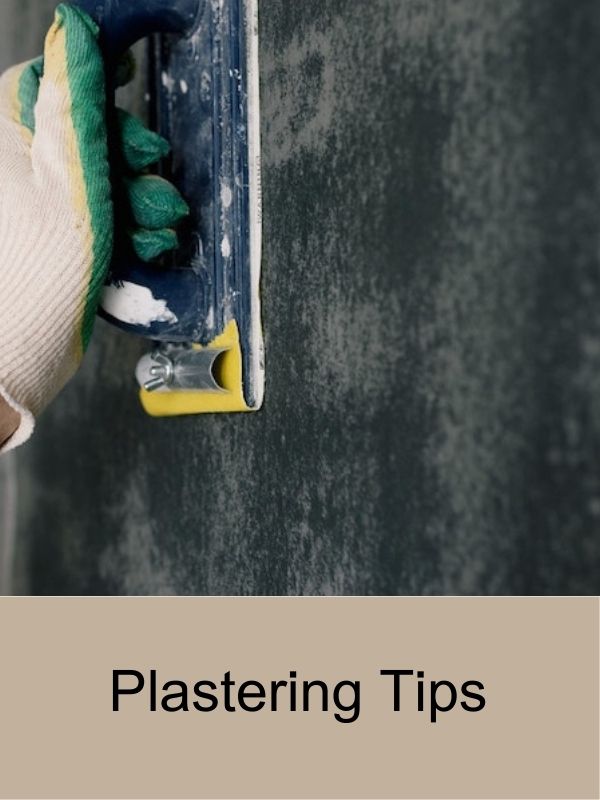
Use a cross-hatching method to apply the plaster – first horizontally, then vertically. Creating a smooth finish: Once you’ve applied the plaster, it’s time to create a smooth finish. Use a sweeping motion with your trowel for best results. Keep smoothing the plaster until you achieve the desired finish, making sure to keep an eye out for any bumps or lumps. Dealing with cracks and blemishes: No matter how much attention you pay, chances are you might still end up with some cracks and blemishes.
Don’t panic! Simply let the plaster dry completely and give it a light sanding. Then, apply another layer of plaster to those areas and repeat the process until you’re happy with the result. With these techniques, you’re sure to produce walls that will make your friends and family envious. Remember to always be patient during the process and take your time to ensure a perfect finish. The next time they ask for your secret plastering tips, you can proudly say, “It’s all in the wrist!”
Drying and Finishing
After plastering your wall, it is important to take your time and properly dry and finish it to achieve that perfect look. The drying time can vary depending on the type of plaster used, but it is best to wait at least 24 hours before moving forward. Attempting to sand or smooth before the plaster is completely dry can result in a messy disaster! Once dry, sanding and smoothing is a critical step to achieve that professional look.
Use a fine-grit sandpaper to smooth out any rough edges or bumps, and be sure to wipe away any loose debris. Now it’s time to decorate! Whether you’re going for a bold statement or a calming neutral, painting your perfectly plastered wall is the perfect finishing touch. Remember, patience is key when it comes to plastering! Rushing through the drying and finishing process can result in a less than ideal outcome. Put in the extra time and effort to make sure your wall looks flawless.
Common Mistakes to Avoid
Ah, plastering – one of the most tedious tasks when it comes to home improvement. It may seem easy, but a lot can go wrong during the process, resulting in a subpar finish. Here are some rookie mistakes that you should absolutely avoid – unless you want your walls to look like a disaster. First of all, overworking the plaster is a big no-no. Don’t keep going back to the same area, trying
Ah, plastering can be a daunting task for a homeowner. Although it may appear straightforward, there are numerous rookie mistakes that one can make, resulting in an unsatisfactory finish. To start, overworking the plaster is a big mistake that needs to be avoided. Avoid continuously going back to the same area in an attempt to make it perfect. This can lead to an uneven surface and create an unpleasant appearance overall.